
Are you tired of the constant expenses that come with homeownership? DIY home repairs offer a solution that saves you money and empowers you to take control of your living space.
This article will guide you through top cost-effective DIY home repair techniques. Whether you're a seasoned DIY enthusiast or a beginner looking to dive in, these practical solutions will help you maintain and enhance your home.
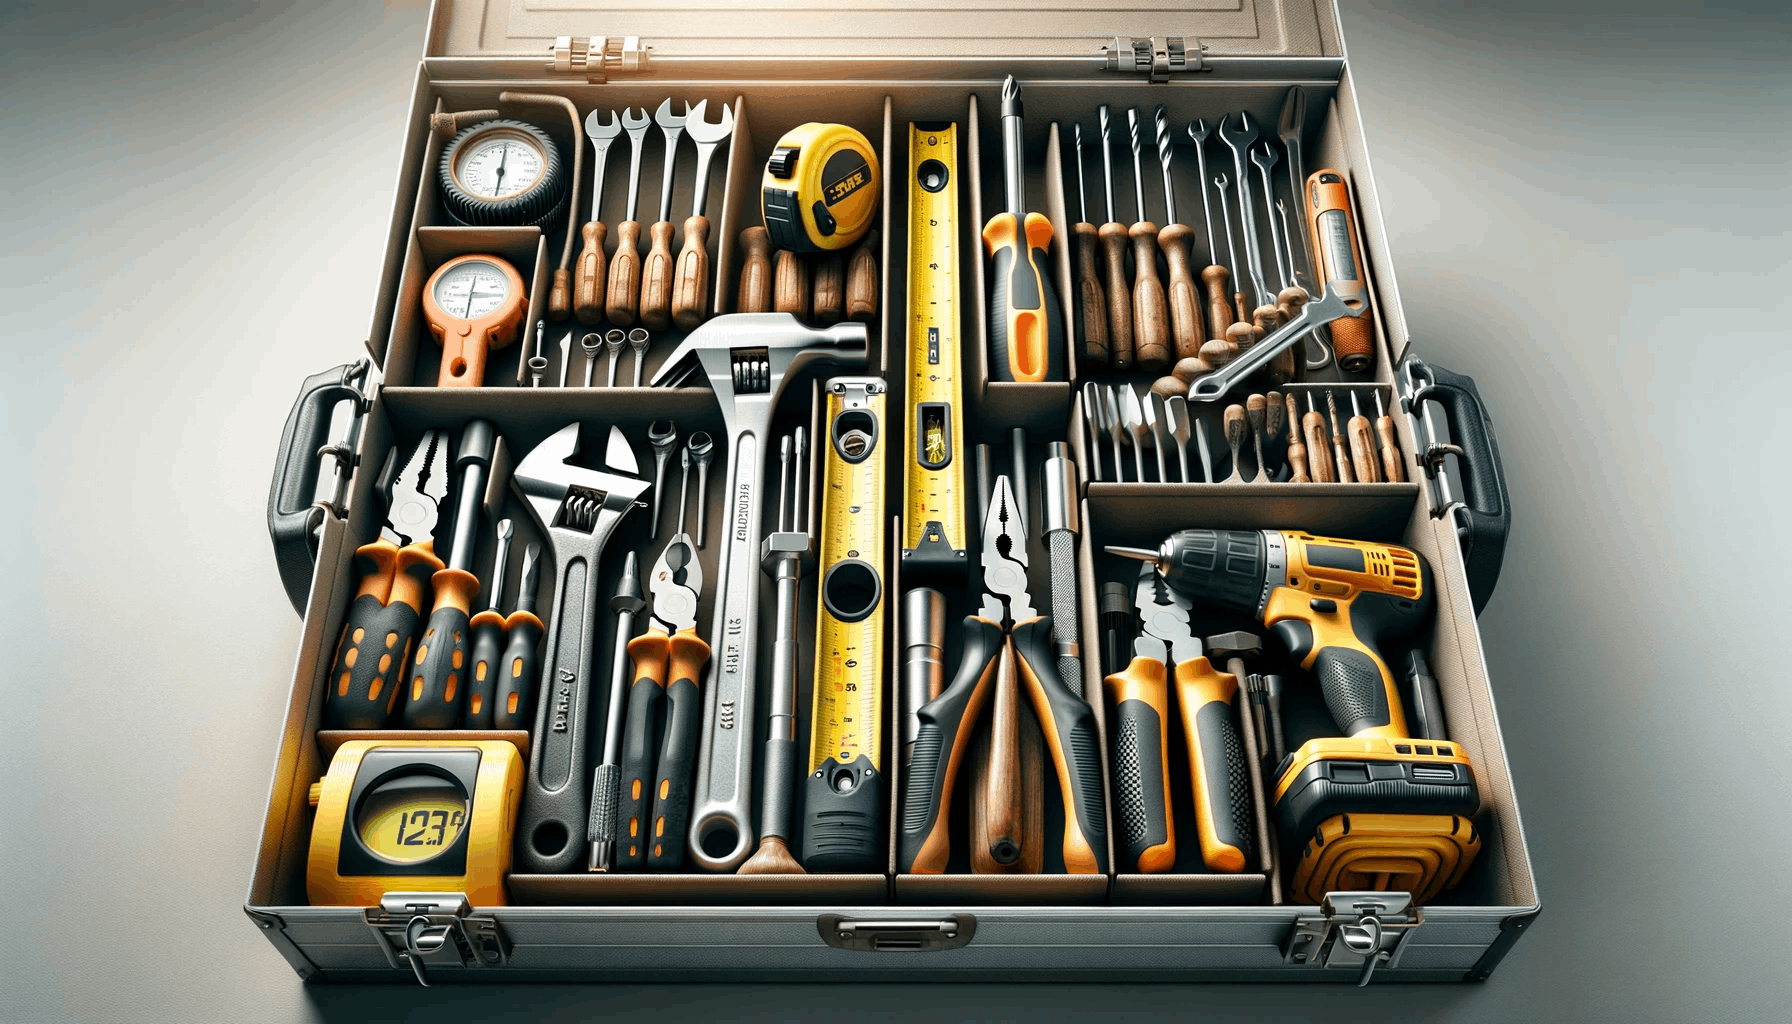
Essential Tools and Safety Precautions
Before diving into DIY home repairs, being well-equipped and prioritizing safety is crucial. Here's a list of essential tools and safety precautions:
Essential Tools:
- Screwdrivers (flathead and Phillips)
- Adjustable wrench
- Pliers (regular and needle-nose)
- Hammer
- Tape measure
- Utility knife
- Cordless drill
- Level
- Hacksaw
- Safety goggles and gloves
Safety Precautions:`
- Always turn off the power before electrical work.
- Use a ladder on stable ground.
- Keep a first-aid kit handy.
- Wear appropriate safety gear for the task.
- Follow manufacturer instructions for tools.
- Properly store and handle chemicals.
- Work in well-ventilated areas.
- Have a fire extinguisher nearby.
- Secure loose clothing and long hair.
- Seek professional help if uncertain or uncomfortable with a repair.
Common DIY Repairs
Empowering homeowners with the ability to address everyday household issues, DIY repairs offer both cost savings and a sense of accomplishment. Here's a list of common DIY repairs that can help you maintain your home efficiently:
Plumbing Repairs
Plumbing repairs encompass a range of common household issues that can disrupt daily life. Knowing how to tackle these problems can save money and prevent water damage.
From fixing a leaky faucet or pipe to clearing a clogged drain, having basic plumbing repair skills empowers you to maintain the integrity and functionality of your home's water systems.
How to Fix a Leaky Faucet or Pipe
- Turn off the water supply.
- Identify the source of the leak.
- Gather necessary tools like a wrench and plumber's tape.
- Disassemble the faucet or pipe.
- Replace worn-out washers or seals.
- Reassemble the faucet or pipe.
- Turn the water supply back on.
- Check for any remaining leaks.
- Tighten any loose connections.
- Test the faucet or pipe for leaks again.
Clearing a Clogged Drain
- Plunger, drain snake, and a bucket.
- Remove excess water from the sink or tub.
- Use a plunger to create a tight seal over the drain.
- Push and pull the plunger vigorously to dislodge the clog.
- If the plunger doesn't work, try a drain snake.
- Insert the drain snake into the drain and turn the handle clockwise to break up or retrieve the clog.
- Dispose of any debris in the bucket.
- Run hot water to flush out the remaining debris.
- Repeat the process if necessary until the drain flows freely.
Electrical Repairs
Electrical repairs involve addressing issues within your home's electrical system. From replacing a faulty light switch or outlet to troubleshooting circuit breakers, having the skills to handle these repairs safely is essential.
With the proper knowledge and precautions, you can ensure the reliability and safety of your home's electrical components.
Replacing a Light Switch or Outlet
- Turn off the power at the circuit breaker.
- Remove the cover plate with a screwdriver.
- Unscrew the old switch or outlet from the electrical box.
- Disconnect the wires from the old device.
- Connect the wires to the new switch or outlet.
- Screw the new device into the electrical box.
- Attach the cover plate.
- Turn the power back on to test the new switch or outlet.
- Ensure it functions correctly before finishing.
Troubleshooting a Circuit Breaker
- Identify the tripped circuit breaker.
- Turn off any connected appliances or devices.
- Reset the breaker by firmly moving it to the "off" position and back to "on."
- If it trips again immediately, unplug or disconnect the faulty appliance.
- Reset the breaker again and turn on other devices.
- If it doesn't trip, the issue is likely with the disconnected appliance.
- If it continues to stumble, seek professional assistance to diagnose and fix the problem safely.
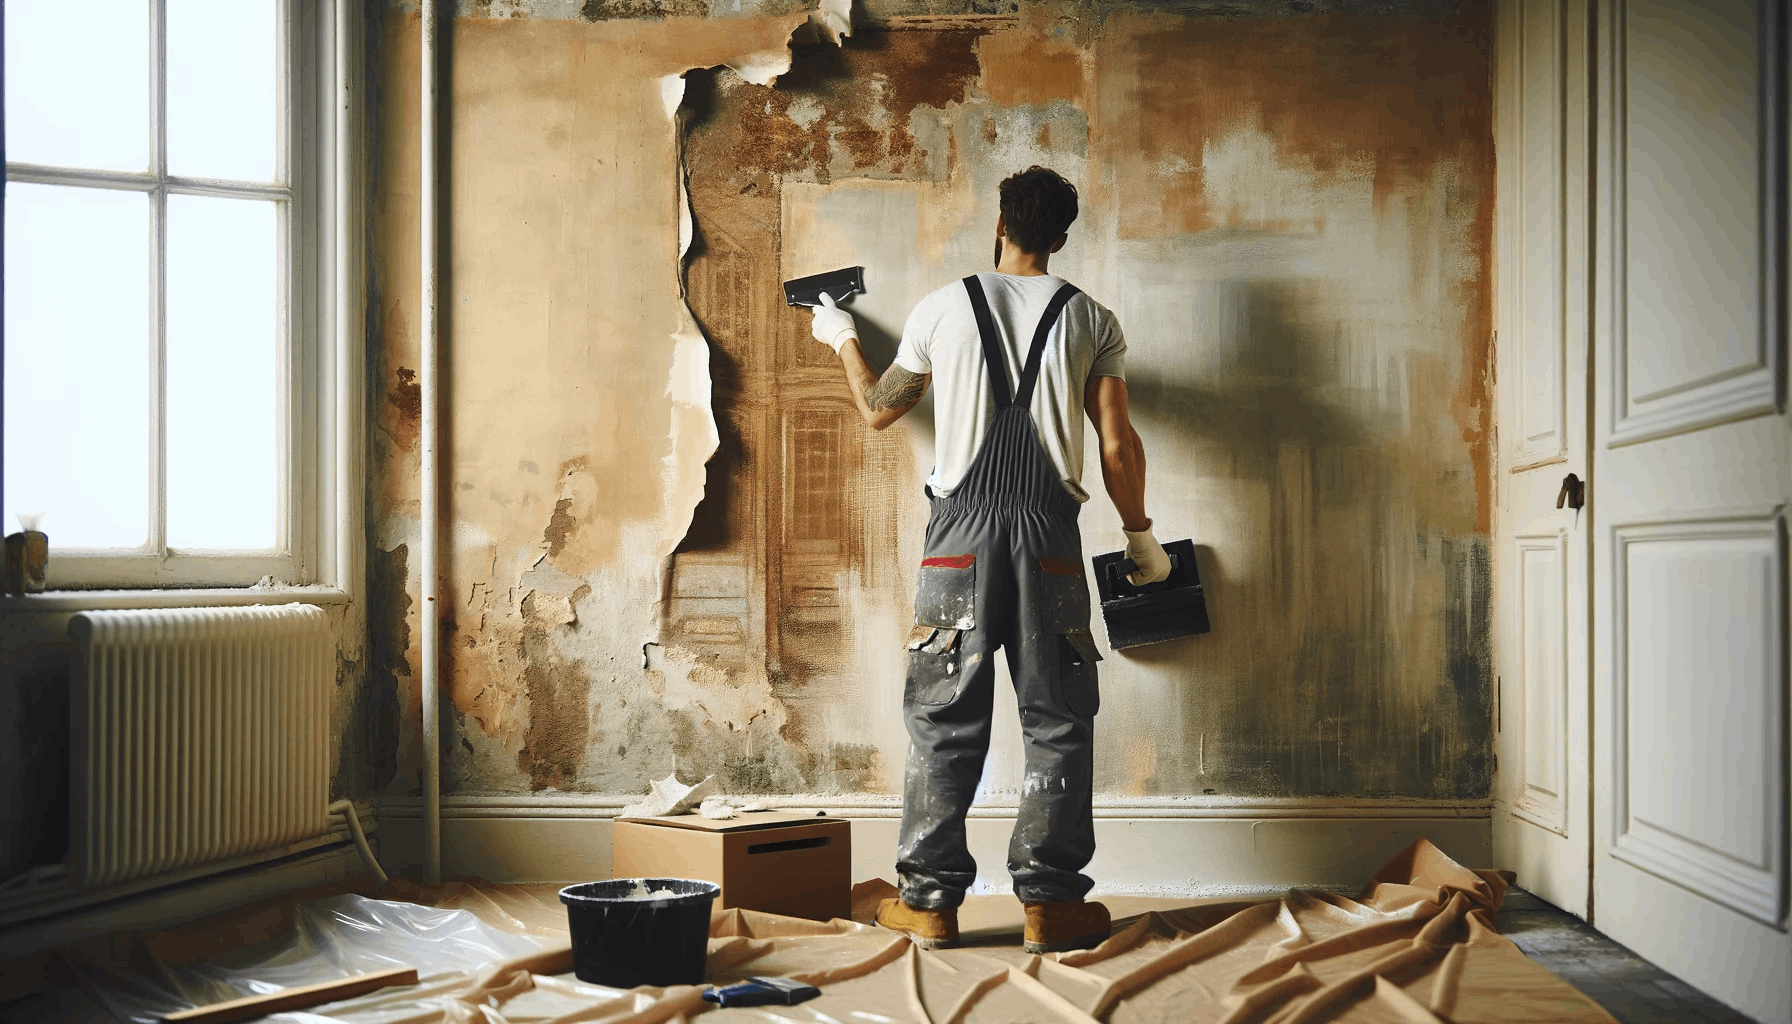
Painting and Wall Repair
Painting and wall repair are essential for maintaining the appearance and integrity of your home's interior. Properly preparing surfaces for painting ensures a professional finish, while patching holes and cracks enhances wall aesthetics.
These DIY tasks refresh your living spaces and allow you to address imperfections with ease.
Preparing Surfaces for Painting
- Clear the area of furniture and items.
- Clean the surface with mild detergent.
- Repair holes, cracks, and dents.
- Sand to smooth and promote adhesion.
- Apply a suitable primer.
- Protect adjacent areas with painter's tape.
- Use drop cloths to shield floors and furniture.
- Mix the paint thoroughly.
- Apply paint evenly.
- Follow drying times between coats.
- Sand lightly between coats.
- Clean up and dispose of materials properly.
Patching Holes and Cracks
- Get a spackling compound, a putty knife, sandpaper, and a cloth.
- Remove debris and dust.
- Fill and flatten the hole or crack.
- Wait a few hours.
- Smooth with fine-grit sandpaper.
- Remove dust.
- Apply a second coat and sand if required.
- Match for a seamless look.
Carpentry and Furniture Fixes
Carpentry and furniture fixes encompass skills that allow you to maintain and enhance the functionality and aesthetics of your home's wooden elements.
From silencing squeaky floors to ensuring the stability of wobbly furniture, mastering these DIY tasks enables you to create a more comfortable and sturdy living environment.
Repairing Squeaky Floors or Stairs
- Identify the specific area causing the noise.
- Remove rugs or obstacles from the squeaky spot.
- Insert screws through the subfloor into the joist beneath the squeaky area.
- Make sure the screw heads are slightly below the surface.
- Apply wood filler to cover the screw holes.
- Smooth the repaired section.
- Restore the floor covering, if necessary.
- Walk over the area to ensure it's squeak-free.
Fixing Wobbly Furniture
- Determine which part of the furniture is unstable.
- Remove items from the furniture.
- Check all connections and secure them.
- Apply wood glue to loose joints.
- Use clamps or braces to hold parts together as the glue dries.
- Allow the adhesive to dry completely.
- Put the furniture back together.
- Ensure it no longer wobbles.
Outdoor Repairs
Outdoor repairs encompass tasks that maintain and improve the functionality and appearance of your home's exterior elements.
From mending a broken fence or gate to preserving your deck or patio, mastering these DIY skills enhances your outdoor spaces and ensures they remain safe and welcoming.
Repairing a Broken Fence or Gate
- Examine the extent of the damage to the fence or gate.
- Get replacement parts like boards, nails, and screws.
- Take out the broken or rotted pieces.
- Install new boards and secure them in place.
- Strengthen connections with screws for added stability.
- Match the repaired area to the existing fence or gate.
- Open and close the gate or check for stability in the fence.
- Prevent future issues with routine inspections and maintenance.
Maintaining Your Deck or Patio
- Clear the area.
- Inspect for damage.
- Clean thoroughly.
- Replace damaged boards.
- Sand rough areas.
- Apply sealant or stain.
- Check and tighten the hardware.
The Bottomline
Mastering these DIY home repair techniques empowers homeowners to save money while efficiently addressing common issues in their living spaces.
From plumbing and electrical repairs to painting, carpentry, and outdoor maintenance, these skills foster self-sufficiency and pride in maintaining a safe and appealing home.
Following the outlined steps and precautions, you can confidently tackle a wide range of repairs, ensuring your home remains comfortable and enjoyable for years.


